How to Repair Wood Chips in Furniture: A Simple Guide
Welcome to our guide on how to repair wood chips in furniture. If you own wooden furniture, you know that chips and scratches are a common problem. Not only do they affect the beauty of your furniture, but they can also impact its functionality. However, repairing chipped wood furniture is easier than you might think, and it can save you money in the long run.

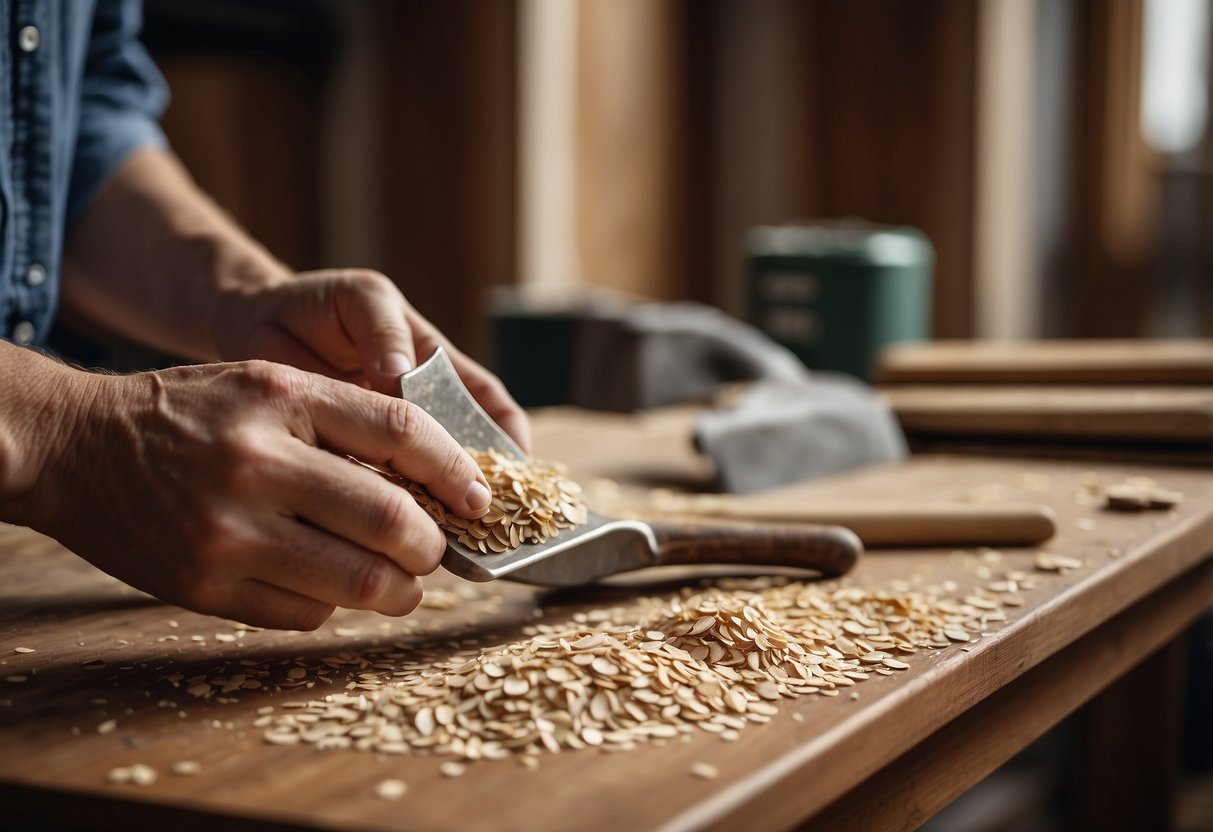
Assessing and preparing for repair is the first step in fixing chipped wood furniture. Proper preparation ensures that the repair process runs smoothly and the end result looks seamless. You will need to assess the damage before you start any repair work. Sanding, filling, or priming the damaged area is necessary to prepare it for repair. The right technique and materials are crucial to achieving the best results.
Key Takeaways
- Assess the damage before you begin any repair work.
- Prepare the damaged area by sanding, filling, or priming as necessary.
- Use the right technique and materials to achieve the best results.
Assessing and Preparing for Repair

Identifying the Extent of Damage
Before repairing chipped wood furniture, you need to assess the damage to determine the best course of action. Small chips, gouges, dings, and scratches can usually be repaired with wood filler, while larger chips or broken pieces may require more extensive repair.
When assessing the damage, consider the type of wood and its grain pattern. This will help you choose the right wood filler or resin wood filler that will match the wood’s natural colour and grain pattern.

Gathering Necessary Materials
To repair chipped wood furniture, you will need the following materials:
- Wood filler or epoxy resin
- Sandpaper (various grits)
- Putty knife
- Wood glue
- Stain, varnish, lacquer, wax, or paint
- Steel wool
- Utility knife
- Brush or paintbrush
- Cloth or cotton swab
- Cardboard or plastic putty knife
- Scrap wood
- Wood stain
- Cordless drill
- Plastic sheet
- Paper towel
- Tack cloth
- Furniture wax
- Clamps
- Bondo, Kwikwood, or wood repair wax
- Acrylic paint
- Bondo spreaders
Preparing the Work Area
Before starting the repair process, it is important to prepare the work area. Begin by cleaning the damaged area with a damp cloth and allowing it to dry completely. If necessary, use a utility knife to remove any loose or splintered wood.
Next, sand the damaged area with sandpaper to create a smooth surface for the wood filler or resin. Use a tack cloth to remove any dust or debris and ensure a clean surface.
If using wood filler, mix the filler according to the manufacturer’s instructions and apply it to the damaged area with a putty knife. If using epoxy resin, mix the resin and hardener together and apply it to the damaged area with a brush.
Allow the wood filler or resin to dry completely before sanding it down to a smooth finish. Then, apply stain, varnish, lacquer, wax, or paint to the repaired area to match the surrounding wood.
Remember to work in a well-ventilated area and take any necessary protective measures, such as wearing gloves and a mask. Regular maintenance can help prevent future damage to your wood furniture.

By following these simple steps, you can repair chipped wood furniture and restore it to its former beauty.
Executing the Repair Process
Repairing the Chips and Gouges
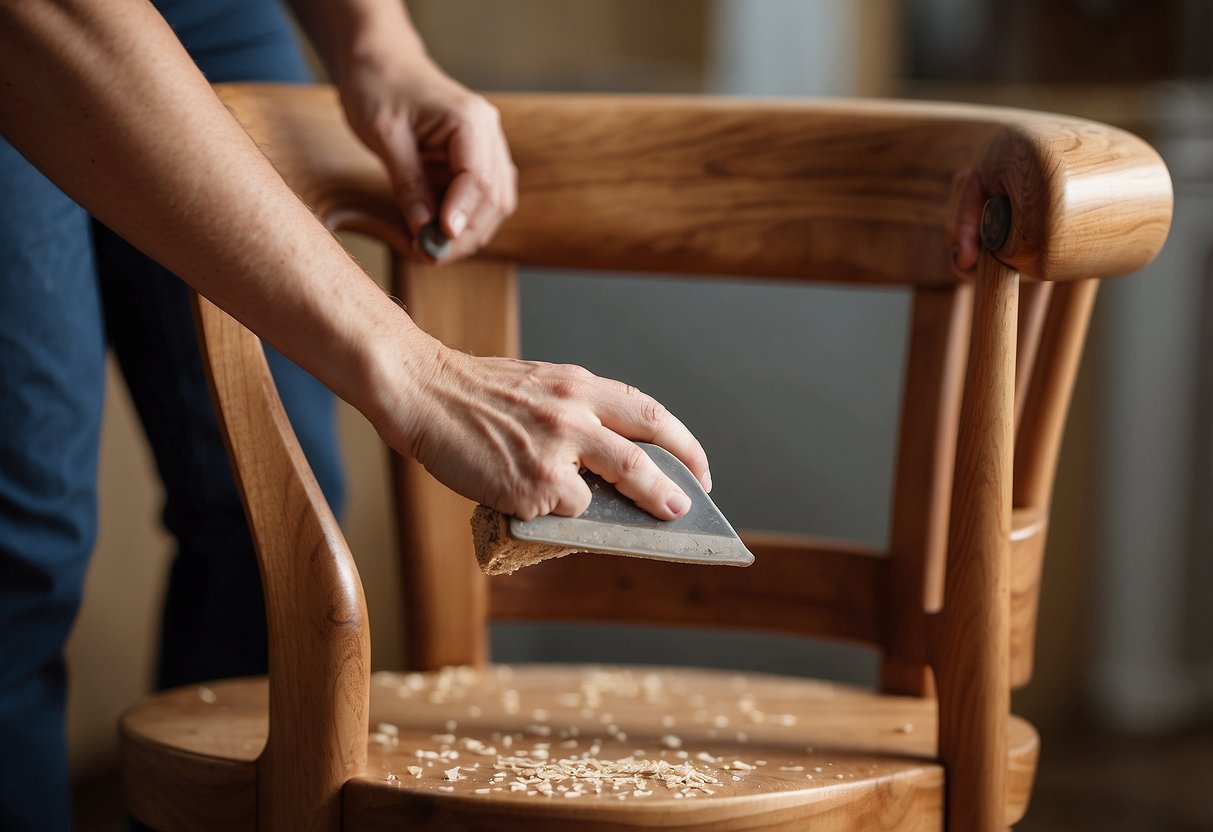
Now that you have assessed the damage and gathered the necessary tools and materials, it’s time to start repairing the chips and gouges on your wood furniture. Begin by using fine-grit sandpaper to sand away any rough or jagged edges around the chip, making sure to apply even pressure while sanding and moving in the same direction as the wood grain. Once the edges are smooth, use a putty knife to apply wood filler to the chipped area, filling it in until it is flush with the surrounding wood. Allow the wood filler to dry completely before sanding it down with fine-grit sandpaper until it is smooth and even with the rest of the wood surface.
Staining and Finishing
After the wood filler has dried and been sanded down, it’s time to move on to staining and finishing your repaired furniture. Choose the right wood stain that matches the original colour of the wood, and apply it with even pressure, following the grain of the wood. Once the stain has dried, apply a layer of varnish or clear shellac to protect the wood surface. If you’re using an oil-based stain, use alkyd varnish and lacquer thinner to thin it out and make it easier to apply.
Final Touches and Maintenance
To achieve a seamless finish, apply furniture wax to the repaired area and polish it with a soft cloth. Regular maintenance is crucial to protect your furniture from wear and tear, so make sure to apply protective measures such as furniture wax every few months. With these techniques, you can restore the beauty of your wood furniture and make it look as good as new.
Frequently Asked Questions

What’s the best method to mend a chipped wooden table edge?
If the chip is small, you can use a sawdust and wood glue mixture to fill it in. For larger chips, use a wood filler or epoxy. Sand the area smoothly after the repair to match the texture of the wood. Apply a matching stain or paint for a seamless finish.
Can you give me advice on fixing a chipped wood veneer?
If the chip is small, you can use a wood filler or epoxy to fill it in. For larger chips, you may need to replace the entire veneer. Carefully remove the damaged veneer with a sharp utility knife, and then use contact cement to attach the new veneer. Sand and finish to match the existing surface.
How should I go about repairing a deep gouge in a wooden dresser?
For a deep gouge, use a wood filler or epoxy to fill in the hole. Sand the area smoothly after the repair to match the texture of the wood. Apply a matching stain or paint for a seamless finish.
What’s a reliable way to fix damaged surfaces on wooden furniture?
For small scratches and nicks, use a furniture touch-up pen or wax stick to fill in the damaged area. For larger scratches, use a wood filler or epoxy. Sand the area smoothly after the repair to match the texture of the wood. Apply a matching stain or paint for a seamless finish.
Could you suggest a technique to repair chewed wooden furniture?
For small chew marks, use a furniture touch-up pen or wax stick to fill in the damaged area. For larger chew marks, use a wood filler or epoxy. Sand the area smoothly after the repair to match the texture of the wood. Apply a matching stain or paint for a seamless finish.
Is there a DIY solution for fixing chipped corners on wooden furniture?
You can use a wood filler or epoxy to fill in the chipped corner. Sand the area smoothly after the repair to match the texture of the wood. Apply a matching stain or paint for a seamless finish. If the damage is extensive, you may need to replace the entire corner piece.