How to Antique Paint Furniture: A Beginner’s Guide
If you’re looking to give your old furniture a new lease of life, antique painting is a great way to achieve a vintage, shabby-chic look. Antiquing furniture is a popular DIY project that can be done with just a few simple tools and materials. With some patience and a little creativity, you can transform your furniture into a unique, one-of-a-kind piece that will add character to any room.

Before you start painting, it’s important to prepare your furniture properly. This involves cleaning the surface, sanding it down, and applying a primer. Once your furniture is prepped, you can start creating the antique paint finish. This involves layering different colours of paint and sanding them down to create a distressed, vintage look. You can also add additional details like crackling or glazing to achieve the desired effect.
Antique painting is a fun and rewarding DIY project that can breathe new life into old furniture. Whether you’re a seasoned DIYer or a beginner, with a little patience and creativity, you can create a unique piece that will add character to any room. In the following sections, we’ll walk you through the steps of preparing your furniture for painting and creating the antique paint finish. We’ll also answer some frequently asked questions to help you achieve the best results possible.
Key Takeaways
- Preparing your furniture properly is crucial for achieving a good result.
- Layering different colours of paint and sanding them down is key to creating an antique paint finish.
- Adding additional details like crackling or glazing can enhance the vintage look of your furniture.
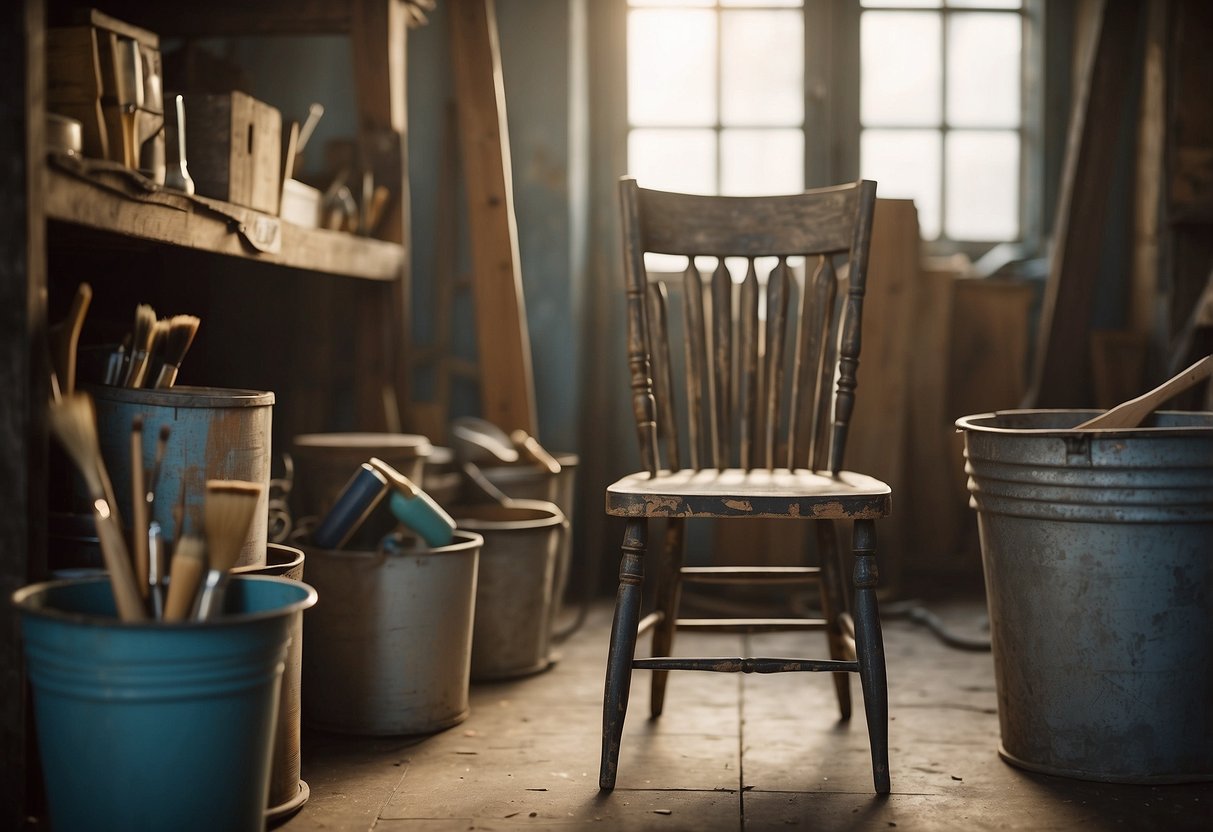
Preparing Your Furniture for Painting
Before you start painting your furniture, you need to make sure it is properly prepared. This will ensure that the paint adheres well and lasts longer. Here are some tips on how to prepare your furniture for painting.

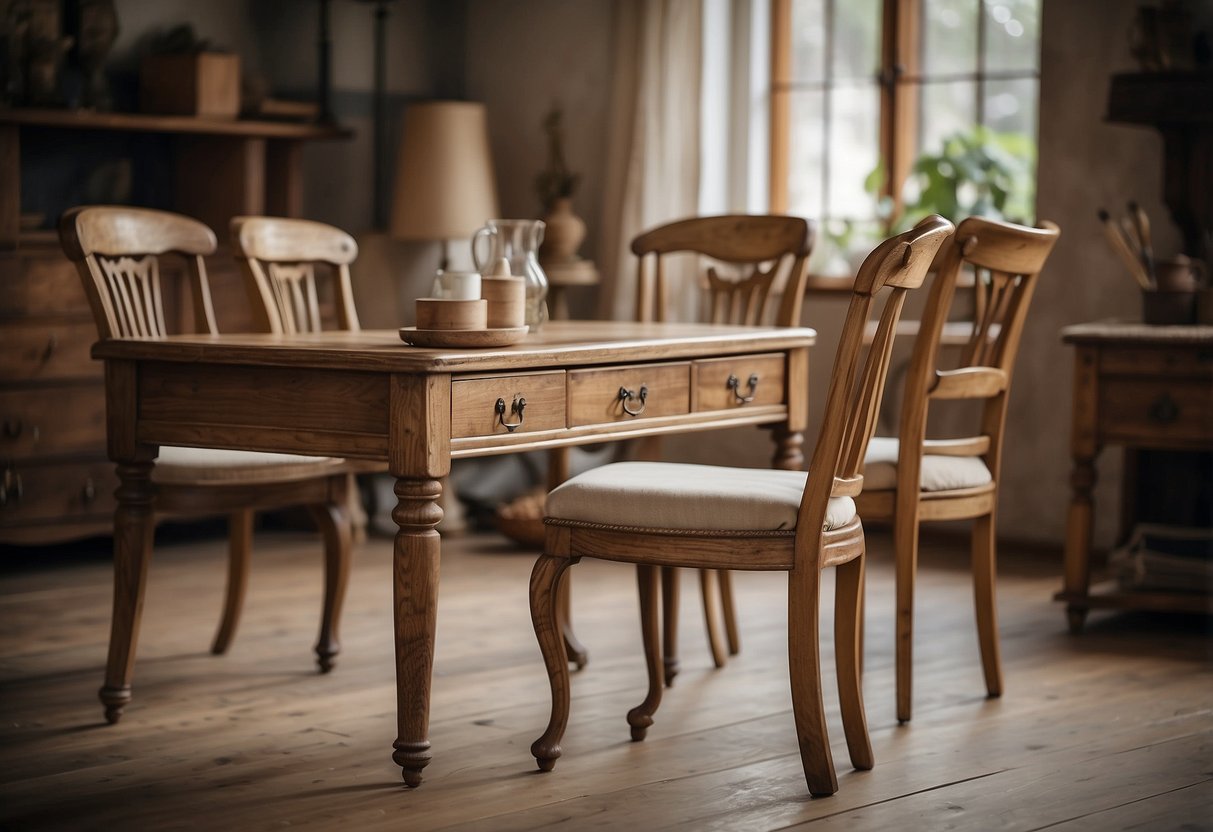
Selecting the Right Furniture
When selecting furniture to paint, look for pieces that are made of solid wood or have a wood veneer. Avoid painting over antique furniture, as this can decrease its value. Thrift stores and vintage pieces can be great options for painting projects.
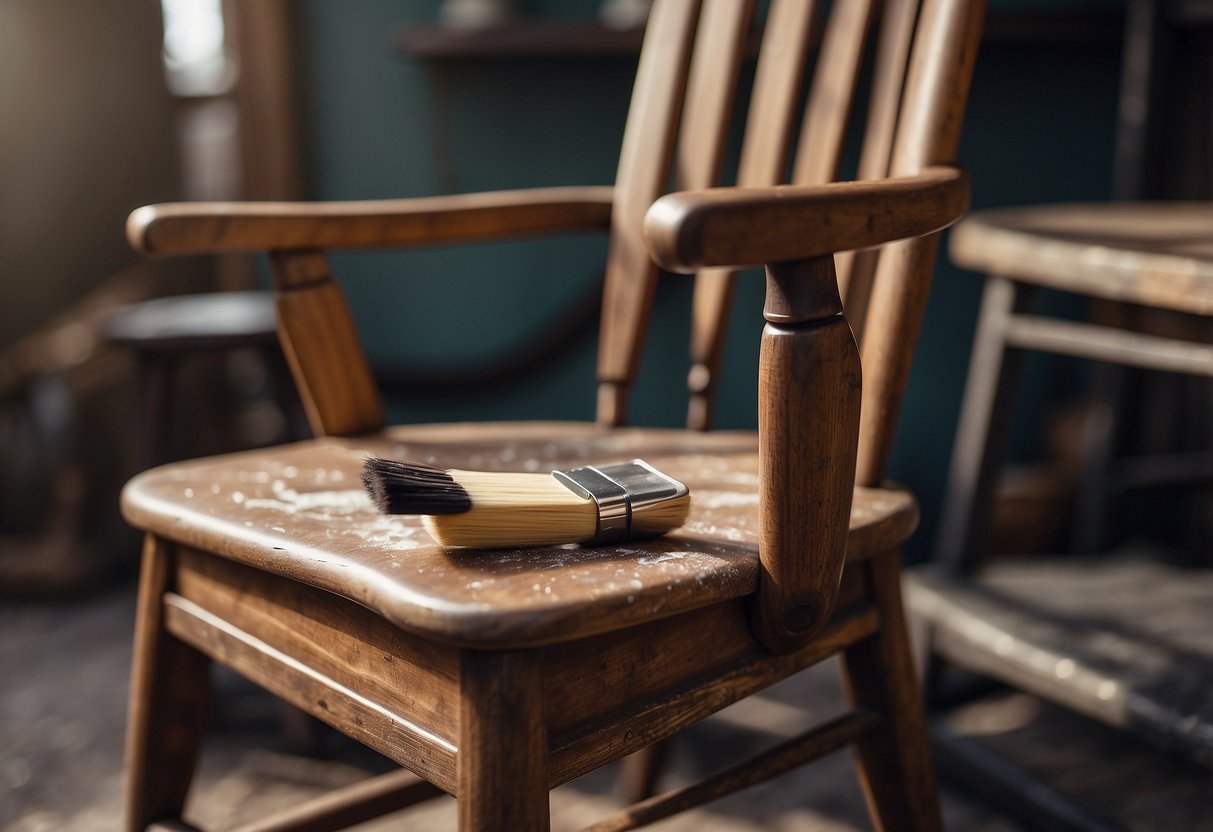
Cleaning and Sanding
The first step in preparing your furniture for painting is to clean it thoroughly. Use a mild soap and water to remove any dirt or grime. Once the furniture is dry, use sandpaper or a sanding block to rough up the surface. This will help the paint adhere better. Be sure to remove any loose paint or finish.
Applying Primer and Base Coat
Before you start painting, apply a coat of primer. This will help the paint adhere better and cover up any imperfections. Once the primer is dry, apply a base coat of paint. Use a paint brush to apply the paint in even strokes, making sure to cover the entire surface. Let the first coat of paint dry completely before applying a second coat.
Remember to use a drop cloth to protect your work area and wear protective gear such as gloves and a mask when working with stripper or sanding bare wood. By properly preparing your furniture, you can achieve a beautiful antique finish that will last for years to come.
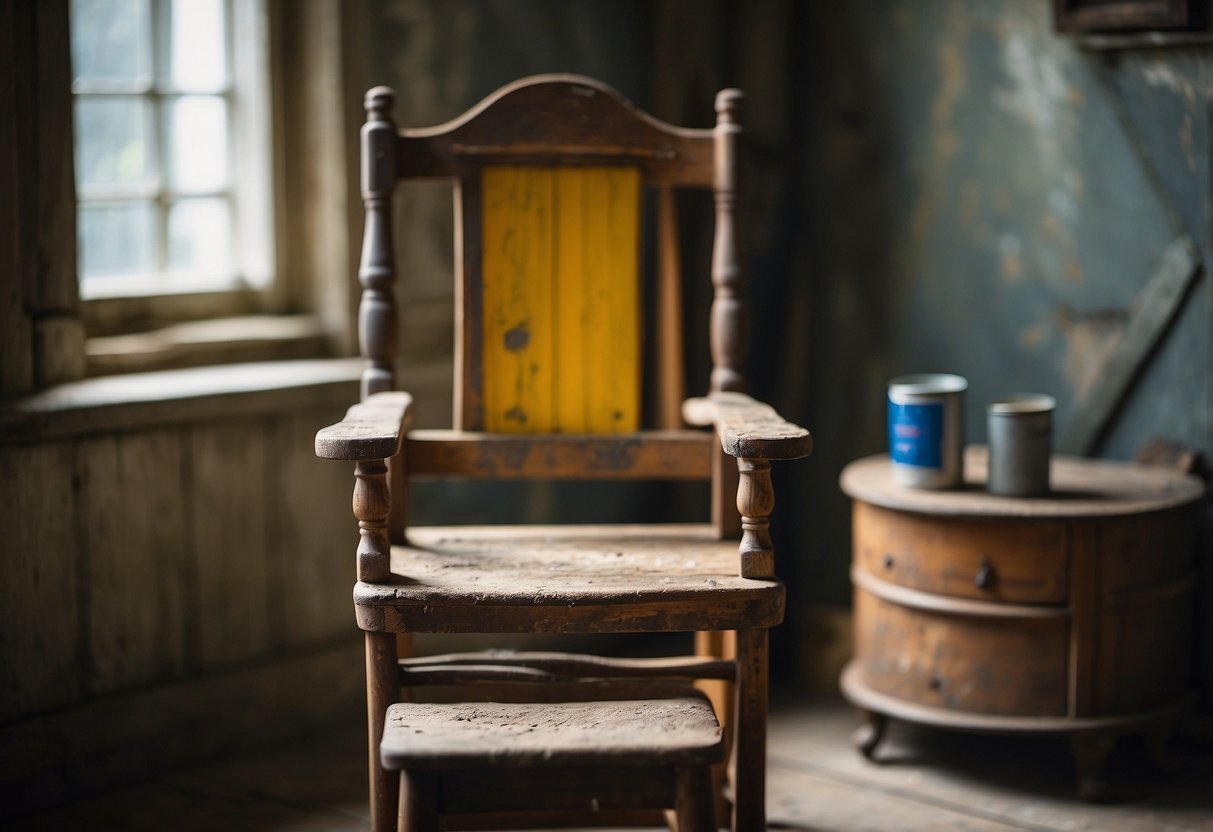
Creating the Antique Paint Finish
Antiquing furniture is a great way to give your home a rustic and weathered look. Creating an antique paint finish is a simple process that can be achieved with a few basic techniques. In this section, we will cover the steps you need to take to create the perfect antique finish on your furniture.
Choosing Your Paints and Techniques
When it comes to painting furniture, there are many different techniques you can use to create an antique finish. Some popular options include chalk paint, milk paint, and glaze. You will also need to choose your main color and any additional colors you want to use for distressing.
Before you start painting, it is a good idea to test your technique on a small, inconspicuous area of your furniture. This will help you get a feel for how the paint will look and give you a chance to make any adjustments before you start painting the entire piece.
Applying Antique Techniques
Once you have chosen your paints and techniques, it’s time to start painting. Begin by applying a base coat of paint to your furniture. Once the first coat is dry, you can apply a second coat if needed.

Next, use fine grit sandpaper to distress the paint. Focus on areas that would naturally wear over time, such as edges, corners, and any recessed areas. Use a coloring agent or wood stain to add depth and dimension to the distressed areas.
To create a more weathered look, you can use a technique called crackling. This involves applying a layer of paint, letting it dry, and then applying a second coat of paint. As the second coat dries, it will crack and create a distressed look.
Sealing and Protecting
Once you are happy with the level of distressing, it’s time to seal and protect your furniture. There are several options for sealants, including polyurethane, wax, and clear wax.
Polyurethane is a durable and long-lasting option that will protect your furniture from scratches and stains. Wax is a popular choice for a more natural look and feel. Clear wax is a good option if you want to protect your furniture without changing the color or finish.
Finishing Touches
To add the finishing touches to your antique paint finish, consider using walnut oil to enhance the color and add a subtle shine. You can also add additional layers of paint or glaze to create a more textured look.
Antiquing furniture is a fun and rewarding DIY project that can transform your home. With the right paint and techniques, you can create a beautiful antique finish that will make your furniture look like it has been passed down for generations.
Frequently Asked Questions
What are the best techniques for creating an antique paint finish on furniture?
There are several techniques to create an antique paint finish on furniture. Distressing, layering paint and glaze, and highlighting details are some of the most popular methods. Embrace imperfections and enjoy the creative process for a unique, personalized home decor. Choose quality, style, and unique finds for antique painting.
Can you guide me through the process of antiquing furniture using Chalk paint?
Antiquing furniture with chalk paint is an easy and popular method. First, clean the furniture thoroughly and sand it lightly. Apply a base coat of chalk paint and let it dry completely. Then, apply a second coat in a contrasting color and let it dry. Sand the second coat lightly to reveal the base coat in some areas. Finally, apply a clear wax to protect the finish.
How do I achieve an antique look on wood furniture with stain?
To achieve an antique look on wood furniture with stain, start by cleaning and sanding the furniture. Apply a pre-stain conditioner to help the stain absorb evenly. Apply the stain with a brush or cloth, wiping off any excess. Let the stain dry completely before applying a protective topcoat.
What steps should I follow to paint furniture to achieve a vintage appearance?
To paint furniture for a vintage appearance, start by cleaning and sanding the furniture. Apply a base coat of paint and let it dry. Then, apply a second coat in a contrasting color and let it dry. Sand the second coat lightly to reveal the base coat in some areas. Finally, apply a clear wax to protect the finish.
How can I give my metal furniture an antique paint effect?
To give metal furniture an antique paint effect, start by cleaning and sanding the furniture. Apply a base coat of metal primer and let it dry. Then, apply a base coat of paint and let it dry. Apply a second coat of paint in a contrasting color and let it dry. Sand the second coat lightly to reveal the base coat in some areas. Finally, apply a clear coat to protect the finish.
What’s the method for antiquing already painted wood to enhance its vintage charm?
To antique already painted wood furniture, start by cleaning and sanding the furniture. Apply a base coat of paint and let it dry. Then, apply a coat of glaze or tinted wax and let it dry. Sand the glaze or wax lightly to reveal the base coat in some areas. Finally, apply a clear wax to protect the finish.