
Replacing Veneer on Furniture: A How-To Guide
If you have a piece of furniture with a chipped, damaged, or missing veneer, don’t worry. You don’t have to throw it away or buy a new one. Replacing veneer on furniture is a relatively easy and inexpensive process that can restore your piece to its former glory.
Before you start the repair process, it’s essential to assess the damage and prepare the surface properly. You’ll need to remove any loose or damaged veneer and sand the surface to ensure a smooth and even finish. Once you’ve prepared the surface, you can start applying the new veneer.
Replacing veneer on furniture requires some skill and patience, but with the right tools and techniques, you can achieve professional-looking results. Whether you’re a DIY enthusiast or a professional restorer, this guide will help you repair and restore your furniture to its former glory.

Key Takeaways
- Assess the damage and prepare the surface before starting the repair process.
- Replacing veneer on furniture requires skill and patience, but the right tools and techniques can help you achieve professional-looking results.
- With the right guidance, anyone can repair and restore their furniture to its former glory.
Assessing and Preparing for Veneer Repair
Before you start repairing the veneer on your furniture, you need to assess the damage and prepare the area for repair. This will ensure that the repair is successful and the end result looks good.

Identifying Damage
The first step is to identify the damage. Look for cracks, chips, blisters, missing veneer, or any other damage to the veneer. If the veneer is cracked or broken, you may be able to repair it. If it is missing or blistered, you will need to replace it.
Gathering the Right Tools and Materials
To repair or replace the veneer on your furniture, you will need the right tools and materials. Here is a list of some of the tools and materials you may need:
- Sandpaper
- Clamps
- Cloth
- Putty knife
- Wood filler
- Heat gun
- Utility knife
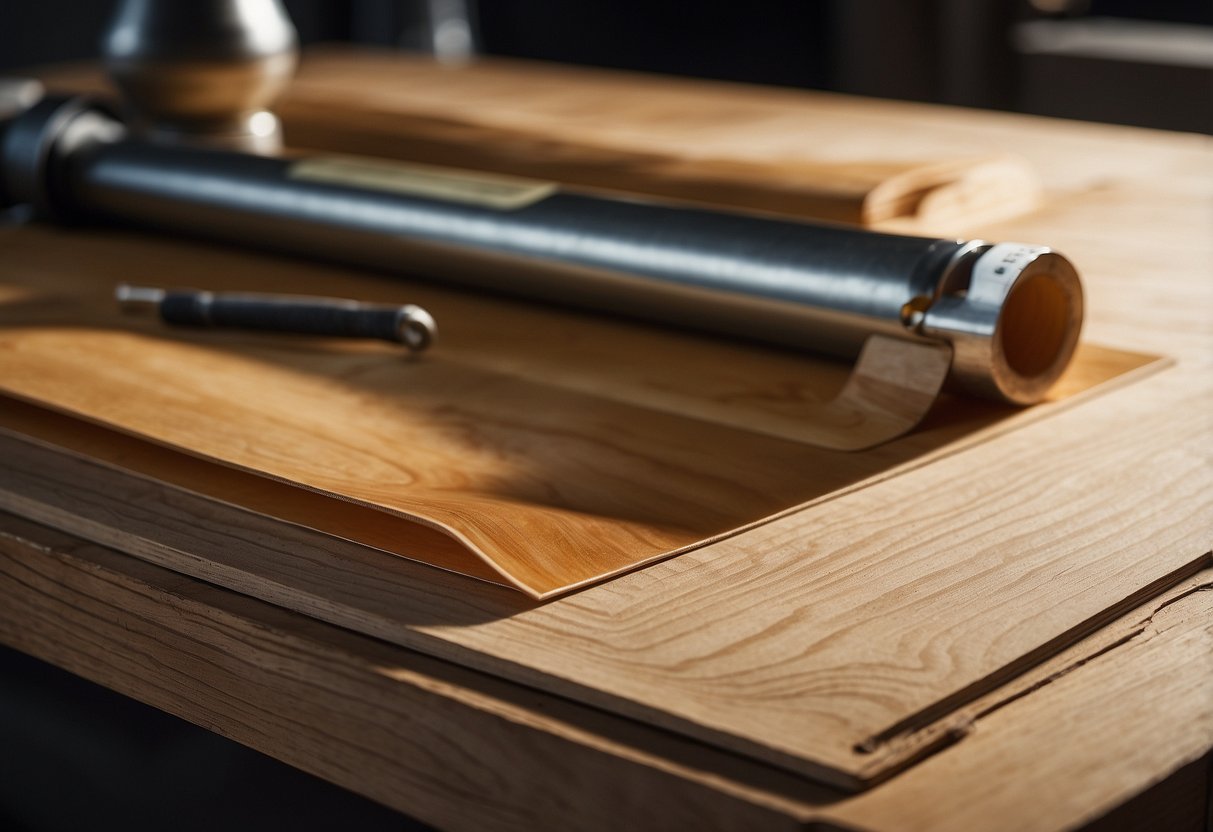
- Veneer edging tape
- Cardboard
- Wax paper
- Masking tape
- Fine-grit sandpaper
- Craft knife
- Carpenters’ glue
- Clean cloth
- Water
- Mineral spirits
Prepping the Damaged Area
Once you have identified the damage and gathered the necessary tools and materials, you need to prep the damaged area. Start by cleaning the damaged area with a clean cloth and water or mineral spirits. This will remove any dirt or debris that may interfere with the repair.
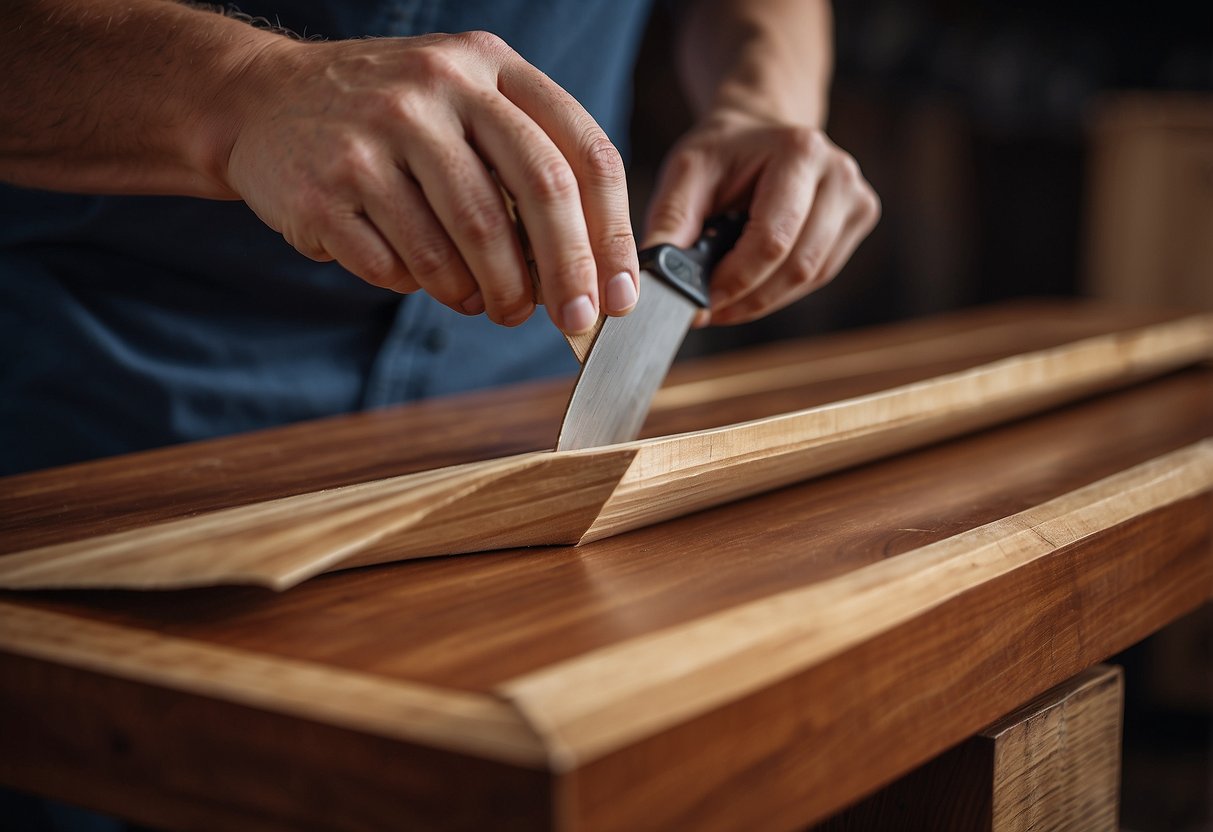
Next, you need to prepare the damaged area for repair. If the veneer is cracked or chipped, use a putty knife to apply wood filler to the damaged area. If the veneer is missing or blistered, use a craft knife to carefully remove the damaged veneer.
After removing the damaged veneer, use a heat gun to soften the glue on the substrate. Use a putty knife to carefully remove any remaining glue. Then, use fine-grit sandpaper to smooth the substrate and prepare it for the new veneer.
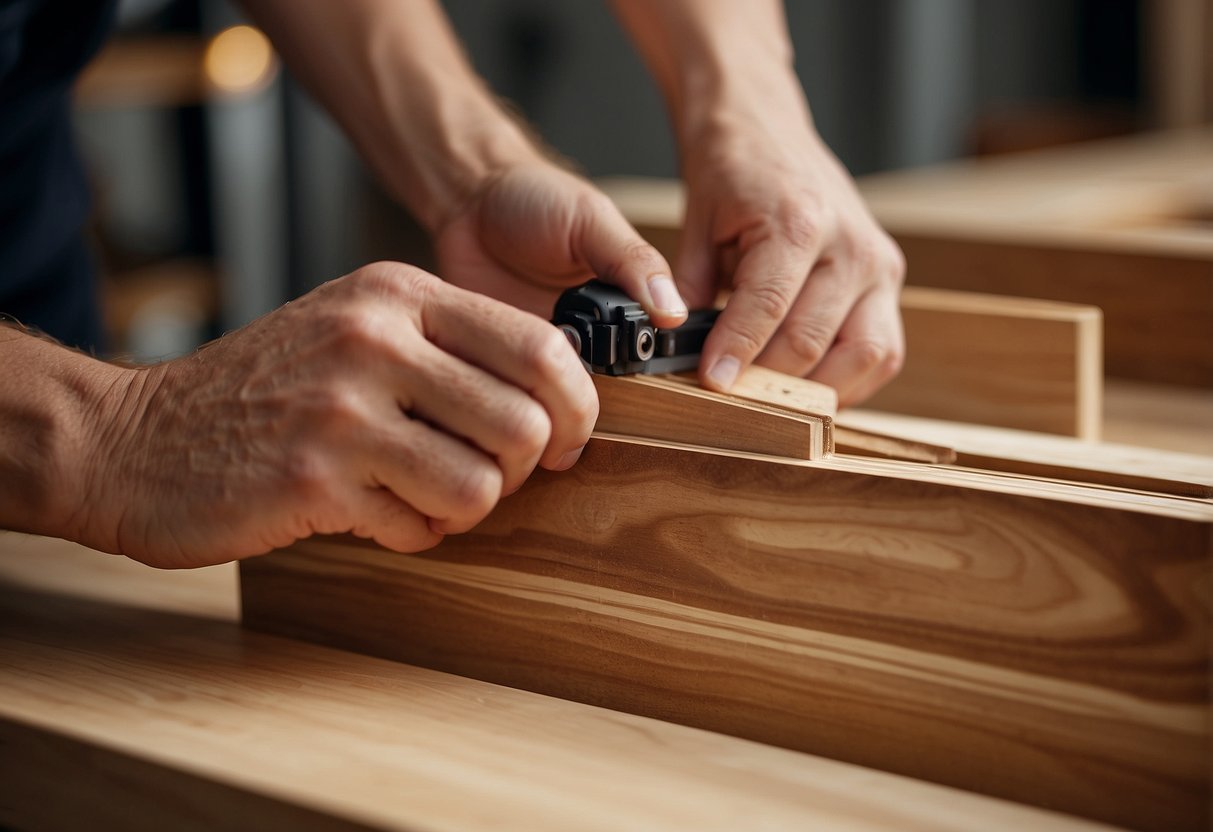
Before applying the new veneer, make sure the substrate is clean and dry. Apply carpenters’ glue to the substrate and the back of the veneer. Use a clean cloth to press the veneer firmly onto the substrate.
Finally, use clamps to hold the veneer in place while the glue dries. Cover the veneer with wax paper and cardboard to protect it from scratches. After the glue has dried, use a craft knife to trim any excess veneer.
By following these steps, you can successfully repair or replace the veneer on your furniture. Remember to take your time and work carefully to achieve the best results.
Executing the Repair and Finishing Touches

Repairing or Replacing the Veneer
Now that you have prepared your furniture piece and have your veneer patch ready, it’s time to execute the repair. If you are replacing the veneer, use a template to ensure the new veneer is cut to the correct size and shape.
If you are repairing a chipped or peeled veneer patch, apply contact cement to both the patch and the furniture surface, then use an iron to heat the cement and press the patch in place. Once the cement has cooled, use a fine-grit sandpaper to smooth out the patch and blend it with the surrounding area.
Sanding and Refinishing
After the repair is complete, sand the entire surface of the furniture with a fine-grit sandpaper to smooth out any rough areas and prepare it for refinishing. If you are staining the repair, use a gel stain to match the surrounding wood grain.
Once the stain has dried, apply a wood filler to any remaining imperfections and sand again with a fine-grit sandpaper. Finally, apply a polish to the surface of the furniture for a smooth and shiny finish.
Caring for Repaired Veneer
To ensure the longevity of your repaired veneer, it is important to take proper care of your wooden furniture. Avoid exposing the furniture to high humidity or water-resistant areas. If the furniture is exposed to water, wipe it dry immediately.
If the veneer begins to peel or chip again, reglue it using contact cement and an iron. For larger repairs, consider veneering the entire surface of the furniture for a more permanent solution.
When sourcing veneer patches or veneering supplies, consider reaching out to a wood supplier or national veneer suppliers for quality materials. Using high-quality materials will ensure a more successful repair and a longer lifespan for your wood veneer furniture.
Remember to take your time and follow these steps carefully for a successful repair or replacement of your veneer. With proper care, your repaired furniture piece can look as good as new for years to come.
Frequently Asked Questions
How much might it cost to replace the veneer on a piece of furniture?
The cost of replacing veneer on furniture can vary depending on the size of the piece and the type of wood used. It is best to get a quote from a professional furniture restorer to determine the cost.
What steps are involved in repairing the veneer on antique furniture?
The steps involved in repairing the veneer on antique furniture can vary depending on the extent of the damage. Typically, the damaged area is cleaned, filled with wood filler, sanded, and then a new veneer is applied and finished to match the original piece.
Can I replace the veneer on my table top myself, and how would I do it?
Yes, you can replace the veneer on your table top yourself. The process involves removing the old veneer, sanding the surface, applying new veneer, and finishing it to match the original piece. It is important to have the right tools and materials to ensure a successful outcome.
Where can I find a repair kit for fixing veneer, and what should it include?
You can find repair kits for fixing veneer at most hardware stores or online. The kit should include wood filler, sandpaper, a veneer saw, adhesive, and a veneer roller. It is important to follow the instructions carefully to ensure a successful repair.
Is it possible to apply new veneer over existing veneer on furniture?
Yes, it is possible to apply new veneer over existing veneer on furniture. However, it is important to ensure that the existing veneer is in good condition and properly prepared before applying the new veneer.
What are the common challenges faced when removing and replacing wood veneer?
Common challenges faced when removing and replacing wood veneer include ensuring that the surface is properly prepared, selecting the right type and thickness of veneer, and ensuring a proper fit and finish. It is important to take your time and follow the instructions carefully to ensure a successful outcome.