

How to Stain Wood Furniture: A Beginner’s Guide
Staining wood furniture is a great way to add character and natural beauty to your home decor. If you’re looking to give your furniture a makeover or simply want to restore an old piece, staining is a manageable DIY project that can be done with the right tools and materials. In this article, we’ll provide you with tips and step-by-step instructions on how to stain wood furniture like a pro.

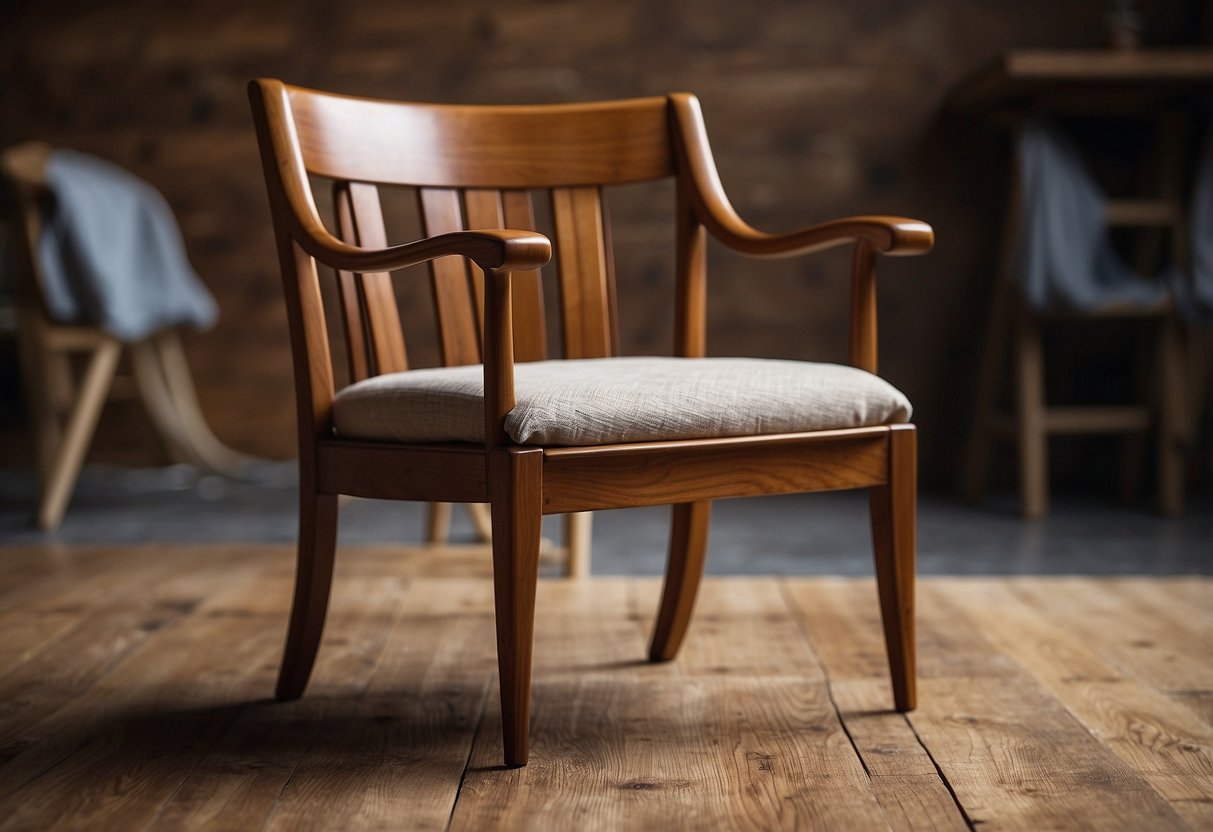
Before you begin, it’s important to prepare your furniture and work area properly. This includes cleaning the furniture, sanding it down to remove any existing finish, and setting up a work area that is well-ventilated and free of dust. Once your furniture is prepped, you can start applying the stain and protective finishes. It’s important to choose the right type of stain and finish for your project, and to apply them in a way that ensures a smooth and even finish.
Staining wood furniture can be a fun and rewarding project, but it’s important to do it right to achieve the best results. In this article, we’ll cover everything you need to know about staining wood furniture, from preparing your furniture and work area to applying stain and protective finishes. Whether you’re a beginner or an experienced DIYer, you’ll find plenty of helpful tips and advice to get you started.
Key Takeaways
- Preparing your furniture and work area is crucial for a successful staining project.
- Choosing the right type of stain and finish is important for achieving the desired look.
- Staining wood furniture is a manageable DIY project that can add natural beauty and character to your home decor.
Preparing Your Furniture and Work Area

Before you begin staining your wooden furniture, it is important to prepare your furniture and work area. This will ensure that the staining process goes smoothly and that you achieve the desired results.

Choosing the Right Materials
To prepare your furniture for staining, you will need a few materials. These include sandpaper, a tack cloth, gloves, rags, and any chemicals or stains you plan to use. When choosing sandpaper, it is important to select the right grit for the job. Use a coarser grit, such as 100-grit, for removing old finishes or scratches. Use a finer grit, such as 220-grit, for finishing and smoothing the surface.
Cleaning and Sanding the Surface
Before you begin sanding, it is important to clean the surface of your furniture. Use a shop vacuum or a damp cloth to remove any dirt or debris. Once the surface is clean, you can begin sanding. Be sure to sand with the grain of the wood to avoid damaging the surface. Use an orbital sander or sandpaper to lightly sand the surface, starting with a coarser grit and working your way up to a finer grit. After each round of sanding, use a tack cloth to remove any dust or debris.
Ensuring a Well-Ventilated Workspace
When working with chemicals or stains, it is important to ensure that your workspace is well-ventilated. Choose a well-ventilated area, such as outside under a patio cover, in a garage with the door open, or in a well-ventilated shop. Avoid windy areas, since wind can deposit dust and other debris on your work. Use a drop cloth to protect your work surface and wear latex gloves to protect your hands.
By properly preparing your furniture and work area, you can ensure that the staining process goes smoothly and that you achieve the desired results.
Applying Stain and Protective Finishes
Staining Techniques for Even Coverage
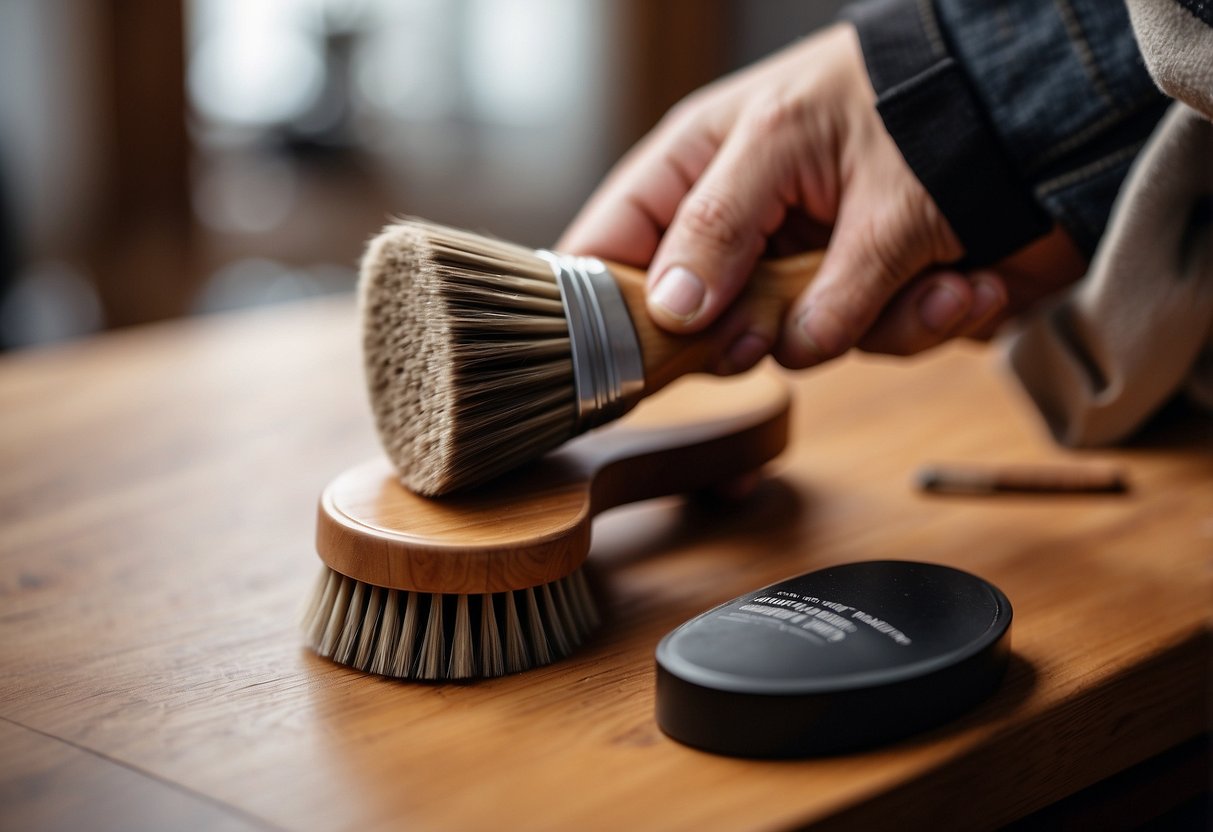
When staining furniture, it’s important to apply the stain evenly to get the best results. First, stir the stain thoroughly and test it on a scrap piece of wood or an inconspicuous section of the furniture to check the colour and to see how it looks on the wood. Next, apply the stain with a natural-bristle brush or a microfiber staining pad in the direction of the grain. Be sure to apply the stain in even strokes and avoid leaving excess stain on the furniture.
If you notice blotches or bubbles in the stain, use a scraper to remove the excess and apply a second coat of stain. You may need to apply multiple coats to achieve the desired colour. After applying the stain, let it dry according to the manufacturer’s directions.

Choosing Between Water-Based and Oil-Based Stains
When choosing a stain, you can opt for either water-based or oil-based stains. Water-based stains are easy to clean up with soap and water, dry quickly, and have less fumes. However, they tend to fade faster and may not penetrate the wood grain as deeply as oil-based stains. Oil-based stains, on the other hand, take longer to dry and have stronger fumes. However, they provide a deeper penetration into the wood grain and are more durable.
Applying Topcoats for Durability
After the stain has dried, apply a protective coating to the furniture to enhance its durability and protect it from grime and hardware. You can use a clear coat, wax, or oil-based polyurethane as a protective finish. Apply the protective coating with a paintbrush or a foam brush in even strokes, following the direction of the grain. Be sure to let the protective coating dry completely before using the furniture.
Remember to wear breathing and eye protection when working with stains and protective coatings. Follow the manufacturer’s directions and dispose of any used materials properly. With these tips, you can achieve a beautiful and long-lasting finish when refinishing or staining furniture.
Frequently Asked Questions

What’s the best method to make my wood furniture darker?
To make your wood furniture darker, you can use a darker stain. Apply the stain in thin layers until you achieve the desired darkness. It’s important to note that the type of wood you’re working with can affect the final result, so it’s best to test the stain on a small, inconspicuous area first.
Can I apply a new stain over already stained furniture?
Yes, you can apply a new stain over already stained furniture, but you will need to remove the old stain first. Sanding the furniture will help remove the old stain and prepare the surface for the new stain. It’s important to note that the new stain may not look the same as the old stain, so it’s best to test the new stain on a small, inconspicuous area first.
Is it possible to stain my wood furniture without sanding it first?
It is possible to stain your wood furniture without sanding it first, but it’s not recommended. Sanding the furniture helps to remove any old stain, dirt, or imperfections on the surface, which allows the new stain to penetrate the wood more evenly. Skipping this step can result in an uneven finish.
What are some tips for beginners starting to stain wood?
If you’re a beginner, it’s best to start with a small, simple project. Make sure you have all the necessary tools and supplies before you begin. Always test the stain on a small, inconspicuous area first to ensure you achieve the desired result. Work in a well-ventilated area and wear protective gear such as gloves and a mask.
How can I lighten the stain on my wood furniture?
To lighten the stain on your wood furniture, you can use a wood bleach or a sanding technique. Wood bleach can be applied to the surface to remove some of the colour, while sanding can remove the top layer of the stained wood. It’s important to note that these methods can be tricky and should be tested on a small, inconspicuous area first.
What steps should I follow to stain my wood furniture an even black?
To achieve an even black stain on your wood furniture, start by sanding the surface to remove any old stain or imperfections. Apply a pre-stain conditioner to the wood to help the stain penetrate evenly. Apply the black stain in thin layers, allowing each layer to dry completely before applying the next. It may take several coats to achieve the desired darkness. Finish with a protective topcoat to seal the stain and protect the wood.