Drill for IKEA Furniture: Make Assembly a Breeze
If you’re planning to assemble IKEA furniture, having the right tools can make the process much easier and less frustrating. One tool that can be particularly helpful is a drill. A drill can help you to quickly and easily screw in screws and make holes where needed.

When it comes to assembling IKEA furniture, preparation is key. Before you start, make sure you have all the necessary tools and equipment, including a drill. You should also set aside plenty of time to complete the assembly, as rushing through the process can lead to mistakes and frustration.
If you’re new to assembling furniture or using a drill, don’t worry. With a little patience and practice, you can quickly become proficient in both. In this article, we’ll provide some tips and advice for using a drill to assemble IKEA furniture, as well as answer some frequently asked questions about the process.
Key Takeaways
- Having the right tools, including a drill, can make assembling IKEA furniture much easier.
- Preparation is key to successful furniture assembly, so make sure you have all the necessary tools and equipment before you start.
- With a little practice and patience, you can quickly become proficient in using a drill to assemble IKEA furniture.
Preparing for Assembly
Before you start assembling your IKEA furniture, it’s important to prepare yourself with the right tools and knowledge. In this section, we’ll discuss the essential steps you need to take to ensure a successful assembly.

Understanding Your IKEA Furniture
Before you begin assembling your furniture, it’s important to take the time to understand the instructions. Make sure you read through them carefully and have a good understanding of the process before you start. This will save you time and frustration in the long run.
Gathering Essential Tools
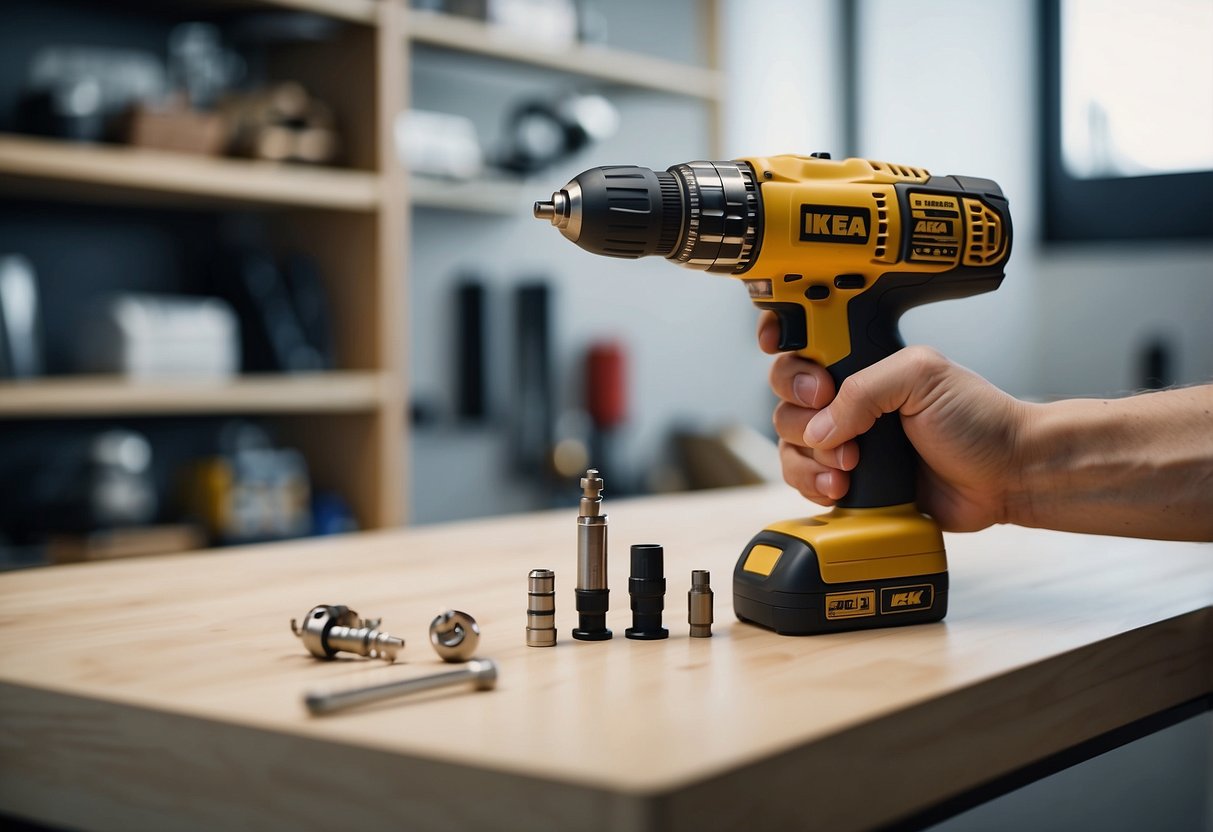
To assemble your IKEA furniture, you’ll need a few essential tools. These include:
- Screwdriver
- Drill with appropriate drill bit
- Rubber mallet
- Level
- Tape measure
- Allen wrenches
- Pencil
Make sure you have all of these tools on hand before you start assembling your furniture. This will make the process much smoother and easier.
Organising Components
Before you start assembling your furniture, take the time to organise all of the components. Lay them out on a flat surface and group them according to their use. This will make it easier to find the parts you need as you go through the instructions.
Once you have your components organised, you can start assembling your furniture. Follow the instructions carefully and take your time to ensure that each step is completed correctly.
By following these simple steps, you’ll be well on your way to successfully assembling your IKEA furniture. With the right tools and knowledge, you can make the process quick and easy.
Assembly Techniques
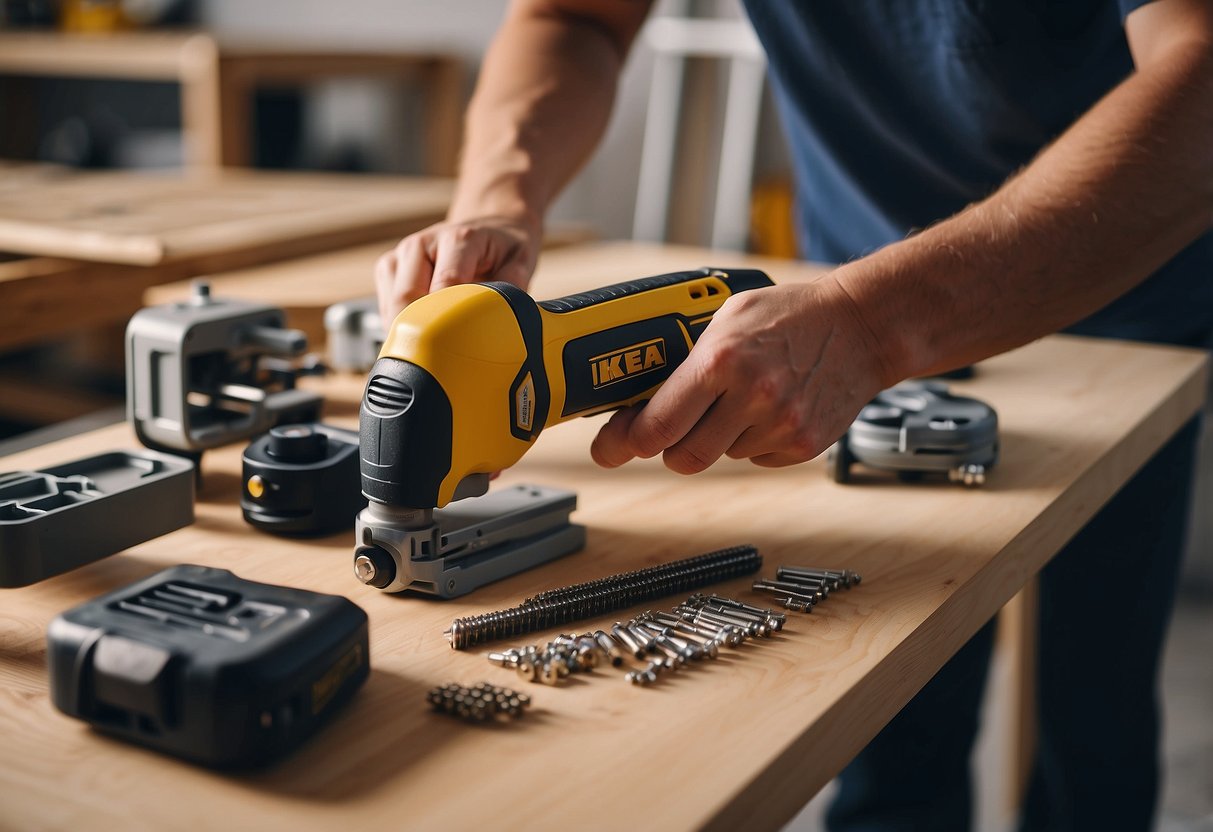
Joining and Fastening
When assembling your IKEA furniture, joining and fastening are essential techniques to ensure a sturdy and durable final product. Follow the instruction manual carefully, which will provide you with the steps and directions needed to complete the assembly process.
Make sure to use the correct screws and dowels provided in the package, and drill the screw holes at the right angle and depth. Use a wood drill bit to avoid chipping and splitting the particle board.

If you encounter any dents or scratches during the assembly process, use wood glue to fix them. Hammer in any loose dowels to make sure they are secure.
Drilling and Customisation
If you want to customise your IKEA furniture, drilling holes can be a great way to add personal touches or make modifications. However, it is important to use a power drill with caution to avoid over-tightening or damaging the furniture components.
To avoid frustration, make sure to mark the spot where you want to drill and use an angle grinder to create a small indentation. This will help guide the drill bit and prevent it from slipping.
Finishing Touches
Once you have completed the assembly process, take a moment to inspect your furniture for any scratches or dents. Use wood glue to fix any issues, and touch up any scratches with a matching paint or marker.
Overall, assembling IKEA furniture can be a fun and rewarding home improvement project. By following the instruction manual and using essential tools and techniques such as drilling and customisation, you can create a unique and personalised final product.
Frequently Asked Questions
What kind of drill should I use for assembling IKEA furniture?
For assembling IKEA furniture, you can use either a power drill or a hand drill. It is recommended to use a drill with a variable speed setting, which will allow you to adjust the speed of the drill according to the material you are drilling into. This will prevent the drill from damaging the furniture or the drill bit.
Is a cordless drill suitable for putting together IKEA pieces?
Yes, a cordless drill is suitable for assembling IKEA furniture. It provides greater mobility and flexibility, making it easier to use in tight spaces. However, it is important to ensure that the battery is fully charged before starting the assembly process, as a dead battery can slow down the process.
Do I need a special drill bit for IKEA furniture assembly?
Yes, you will need a drill bit suitable for the material of the furniture. For example, if you are drilling into wood, you will need a wood drill bit. IKEA furniture usually comes with a drill bit included, but you may need to purchase additional drill bits if you are working with different materials.
Can a standard electric drill be used for IKEA furniture or should I get a specific model?
A standard electric drill can be used for assembling IKEA furniture, as long as it has a variable speed setting and the correct drill bit for the material you are drilling into. However, some IKEA furniture may require a specific model of drill, so it is important to check the instructions before starting the assembly process.
Are there any power tools provided in an IKEA drill set for furniture assembly?
IKEA drill sets for furniture assembly usually come with a drill bit, screwdriver bit, and a hex key. However, some sets may include additional power tools, such as a jigsaw or circular saw, depending on the complexity of the furniture.
What tools are essential for constructing an IKEA wardrobe?
To construct an IKEA wardrobe, you will need a power drill or hand drill, drill bits suitable for the material of the wardrobe, a tape measure or ruler, a pencil or marker, a level, and a screwdriver bit. Additionally, you may need a hammer, pliers, and a rubber mallet to help with assembly.